Configuration for Tyro #
To pair your Tyro terminal with ACE Sales POS, please follow these steps:
Turn the terminal on. Plug in the USB and ethernet cable.
Open ACE Sales POS Setting > POS Setting > Payment.
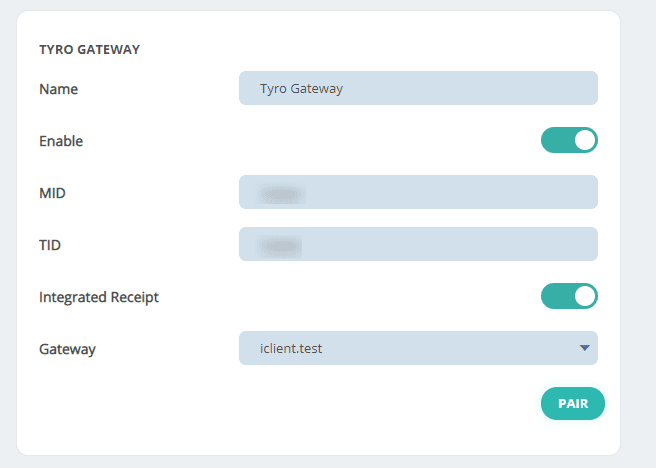
Find the “Tyro Gateway” block.
Input your terminal MID and TID.
Toggle “Integrated Receipt“:
– Enable this if you want to print receipt from terminal.
– Disable this if you don’t want to print receipt from terminal.
Select your “Gateway” option
Click on “Pair” to start pairing the terminal with ACE Sales POS.
If successful, the terminal will be paired with ACE Sales POS. Otherwise, error message will appears.
Click “Save” to finish.
Checkout with Tyro #
To create a sale using Tyro, please follow these steps:
- Make sure “Tyro Gateway” is enabled on your ACE Sales POS.
- Open Sell Screen.
- Add items to cart.
- Select a customer.
- Click on “Pay“, proceed to payment.
- Select “Tyro Gateway” payment block.
- Click on “Complete“.
If the terminal is connected to ACE Sales POS, and the gateway was setup correctly, transaction will be approved, and you will be shown the “Order Success” screen for refund.
Refund with Tyro #
Important information:
- You can only refund by Tyro using order paid with Tyro.
- You cannot refund amount higher than order Grand Total.
To refund an order with Tyro, please follow these steps:
- Open Order List.
- Select the order you want to refund.
- Click on “Refund” button.
- The Refund cart will appears, click on “Pay“.
- Select “Tyro Gateway” payment block.
- Click on “Complete“.
If the terminal is connected to ACE Sales POS, and the gateway was setup correctly, refund will be successful, and you will be shown the “Order Success” screen for refund.


